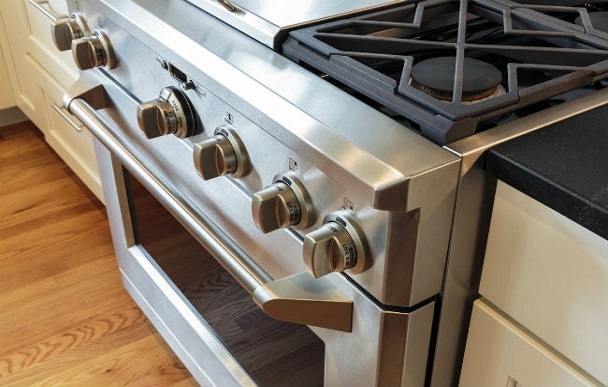
Clean and Maintain Your Self-Cleaning Oven
An efficient tool created to make the task of cleaning your oven simple is a self-cleaning oven. You can maintain your oven in great shape and make sure it continues to operate well by following a few easy steps. We’ll walk you through cleaning and maintaining your self-cleaning oven in this guide.
Step 1: Prepare Your Oven
It’s crucial to set up your oven correctly before starting the self-cleaning cycle. Use a moist cloth or sponge to clean the interior of the oven of any significant food spills or debris. Make careful you remove any pans, racks, or other removable things from the oven.
Step 2: Set the Self-Cleaning Cycle
The majority of self-cleaning ovens have a specific self-cleaning feature. For precise information on how to start this cycle, refer to the oven’s manual. Normally, you’ll need to choose the self-clean option and specify the cleaning cycle’s length. To burn off any food residue, the oven will lock its door and heat up to extremely high temperatures.
Step 3: Allow the Cleaning Cycle to Complete
Depending on the model of your oven, the self-cleaning cycle normally lasts between 2 and 6 hours. It’s crucial to keep the kitchen well-ventilated during this time by opening windows or utilizing an exhaust fan. As the residue burns off at high temperatures, smoke may be produced, so make sure your kitchen has enough ventilation.
Step 4: Let the Oven Cool Down
Allow the oven to cool down when the cleaning procedure is finished. It’s ideal to schedule the cleaning for a time when you won’t need to use the oven right away because the process can take several hours. Until the oven has cooled to a safe temperature, the door will be locked.
Step 5: Wipe Away Ash Residue
You’ll discover ash residue in the bottom of the oven once it has cooled. To remove the ash, wipe it off with a moist cloth or sponge. you protect your hands from any lingering residue, make sure you use gloves.
Step 6: Clean the Oven Racks
Take advantage of the opportunity to clean the oven racks separately while it is cooling. To remove any tough stains, wash them in warm, soapy water. Before putting them back in the oven, give them a good rinse and let them dry.
Regular Maintenance Tips:
- Self-cleaning ovens shouldn’t be cleaned with abrasive chemical cleansers because they could scratch the internal surface.
- To avoid food residue and spills from baking onto the oven’s surface, clean them up as soon as you can.
- To avoid spills when cooking, use oven-safe containers and cover dishes with lids or foil.
Conclusion:
In addition to being crucial for hygiene, self-cleaning oven maintenance is also necessary to guarantee maximum performance. You may have a sparkling clean oven that is prepared to handle your culinary creations by following these instructions and applying regular maintenance practices. Have fun cooking!


